Sure, this is normally an adoption blog, but this sorta relates. There’s been a lot of movement on the adoption front in the last month, but that’s fodder for a whole other post!
My new job starts officially full time today. I’ve been working there a few hours a week freelance since October. Since I start tomorrow, I wanted to decorate my office and be sure my creativity is not only apparent, but organized. I will be doing marketing of all kinds and need to ensure it is kept track of properly. Instead of purchasing a corkboard or dry erase board, I came up with this idea while wandering around Staples Saturday night.
What, you don’t wander office supply stores for fun?
I purchased a large black foamcore board which initially would mean using metallic and light ink pens on. Nope, this idea is better. I bought 3 coordinating roll of mini duck tape and started searching on Pinterest for memory board tutorials for the tape placement.

My supplies:
20″x30″ black foamcore board | 3 rolls of 15mm duck tape | scissors

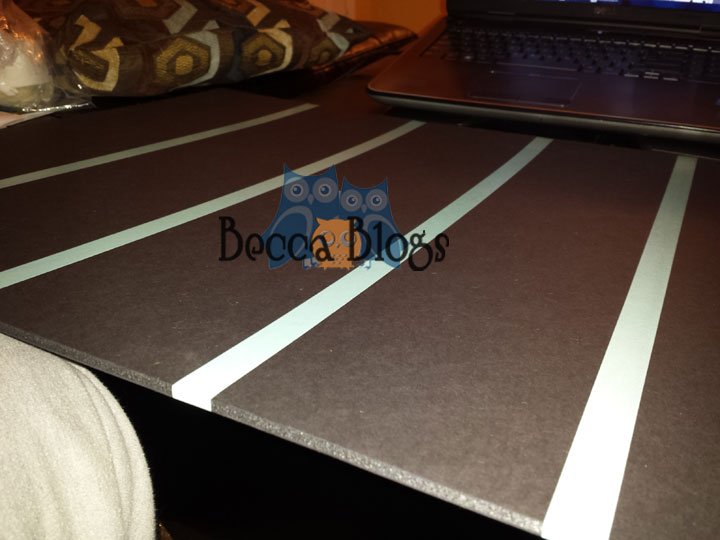
Since my board is 30″ wide, I marked off every 5″ and went on to taping it off. There are 5 aqua blue vertical stripes.
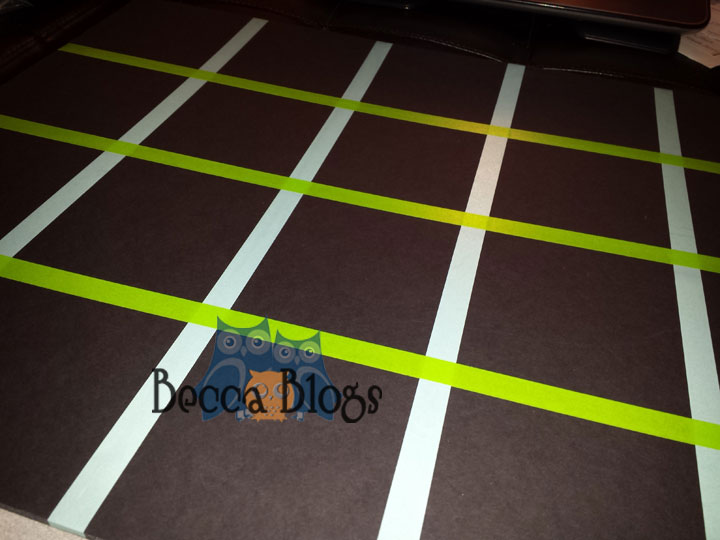
As it is 20″ tall, there are 3 lime green horizontal stripes at 5″ intervals.
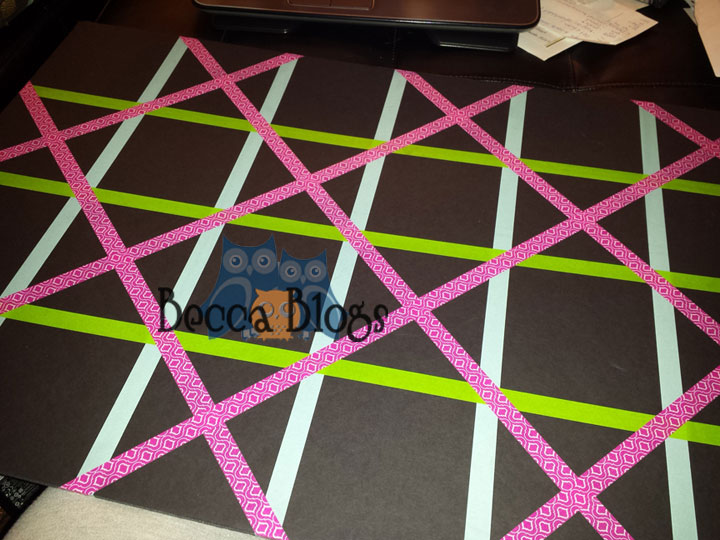
I got creative with the diagonal stripes. There are 5 on 1 diagonal and 4 on the other.
This is totally up to you how to tape it off.
To hang this, use nails that are at least 1/2″ longer than your board.
I purchased clear push pins and will use them to secure papers to my message board. Normally ribbons are used, but that also means it’s a fabric board with some sort of batting. Maybe I’ll make one of those for the Fletchling, but for now, he or she will have one of these. Now to pick some generic colors and get to it.


